front elevation photography
Front elevation photography
When is a frontal elevation the clearest architectural image, and what can it conceal?
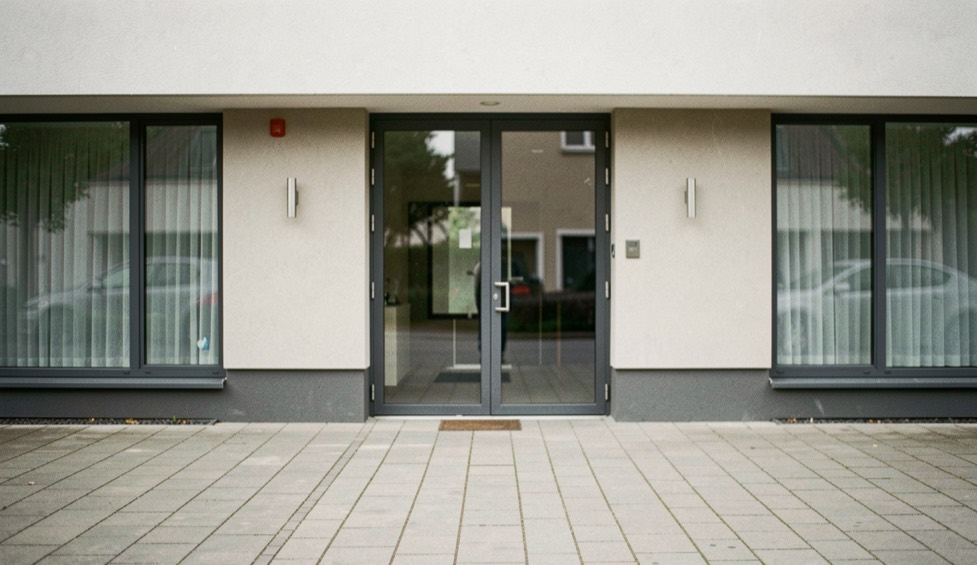
Use frontal views for comparison and façade logic without confusing flatness with neutrality. The practical goal is a frame or sequence that can be explained before capture, assessed after capture and found again after delivery. The method below stays source-led where a standard or authority applies and labels photographic judgment as judgment.
Read the condition before the frame
Front elevation photography begins as a reading problem. A frontal elevation is powerful when comparison, facade order or construction logic matters, but it can suppress depth and approach. The first task is to separate the durable spatial condition from temporary clutter, preferred style and assumptions carried from another project.
- Find the facade plane and decide whether the camera can truly meet it rather than merely appear centered.
- Read base, openings, joints and roof edge as one ordered field.
- Notice trees, cars and street furniture that break comparison or reveal ordinary use.
For front elevation photography, this reading stage protects the final sequence from a common error: solving an attractive picture before defining what the picture needs to communicate. The notes can remain simple, but they should name position, light, access and intended use in terms the commissioning and image teams both understand.
Turn observations into decisions
For Front elevation photography, a useful brief converts what is visible into choices that can be reviewed. The aim is not to prescribe one camera setting or style. It is to decide which relationship matters, who owns the unresolved question and what information a view must retain.
- Center only when symmetry or measured comparison is part of the image question.
- Keep slight asymmetry when access or facade logic makes perfect centering misleading.
- Choose diffuse or directional light according to whether color, relief or repetition needs emphasis.
Front elevation photography becomes commercially and editorially useful inside Architecture & Design when those choices remain explicit. A team can then distinguish a required record from an interpretive variation, budget time around access rather than guesswork, and explain why a frame belongs in the final package.
Build a sequence, not an isolated hero
Front elevation photography rarely carries context, form, circulation, use and detail in one frame. A sequence gives each image a narrower job and lets adjacent views answer one another. That makes selection easier and preserves meaning when photographs leave the original gallery.
- Place the elevation after a context view so the reader already knows where the facade sits.
- Follow it with an oblique frame that restores depth and threshold.
- Use detail views to explain joints or repeated elements first seen in the elevation.
The order for front elevation photography should feel spatial rather than merely chronological. A reader first needs orientation, then a closer architectural relationship, then evidence of use or construction. The exact route changes with the building, but the logic remains open to review and can be recorded in filenames, captions and the delivery index.
Check what the image claims
Quality control for front elevation photography is more than sharpness. The selected frame should be compared with the brief, neighboring images and the information visible at full resolution. Perspective, privacy, crop, caption and metadata can each change what the photograph appears to assert.
- Compare left and right margins without treating symmetry as automatic quality.
- Check that the base is neither swallowed by foreground nor cut away.
- Caption which facade and condition are shown when the image serves a record.
A flat view can clarify organization, but it should not be presented as the complete experience of a three-dimensional building. This boundary is part of the editorial result, not a disclaimer added after it. It tells the reader where photographic evidence stops and where a responsible person, current authority or project-specific decision must take over.
Evidence docket
Sources behind this guide
Front elevation photography uses the publication evidence hierarchy rather than a hidden authority score. Its working source IDs are SRC-NPS-HDP-PHOTO, SRC-LOC-HABS-COLLECTION, SRC-CCA-PHOTO-COLLECTION. Definitions, jurisdiction and review dates remain in the source register, where corrections can be made once instead of being copied inconsistently across the site.
Continue the reading
Connected decisions
Architecture & Design
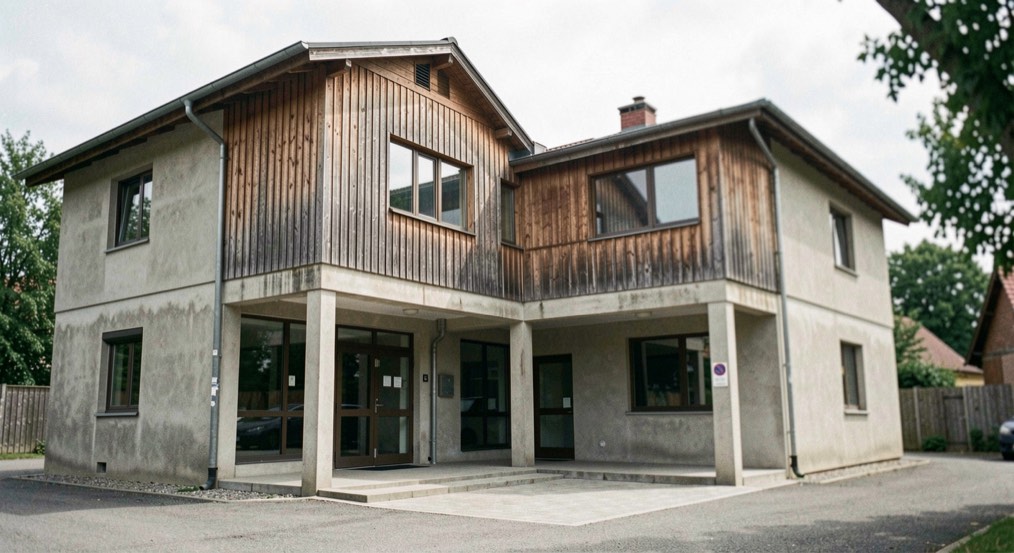
Oblique views in architecture photography
From Front elevation photography, continue with this decision: Choose an angle that explains volume without turning the building into a dramatic distortion.
Architecture & Design
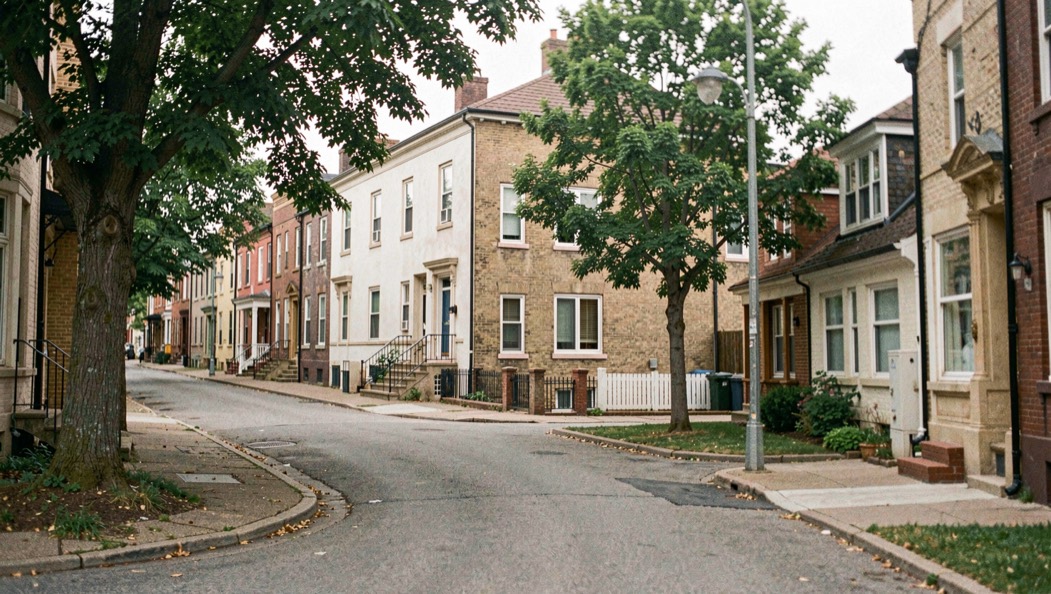
Buildings in context
From Front elevation photography, continue with this decision: Frame the building's relationship to access, landscape and surroundings.
Architecture & Design
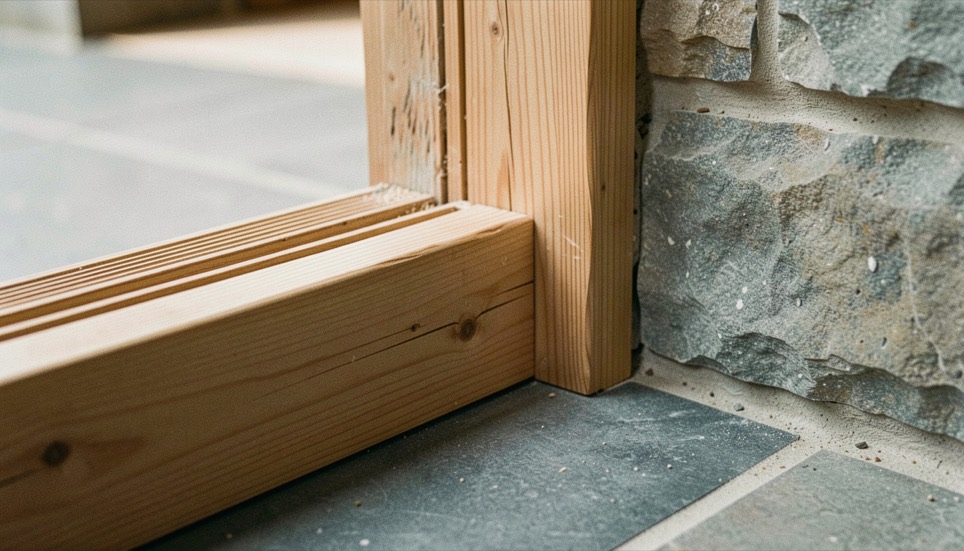
Architectural detail photography
From Front elevation photography, continue with this decision: Select joints, thresholds, materials and repeated elements that support the project story.