window exposure interior photography
Window exposure in interior photography
How should windows be rendered when the view, the daylight and the room each matter differently?
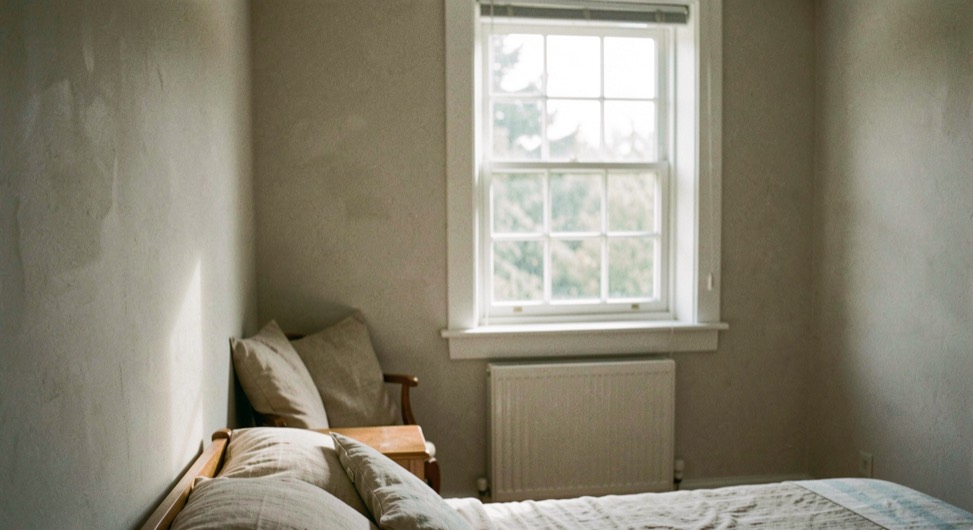
Choose among accepted highlight loss, controlled contrast, supplemental light and bracketed workflow. The practical goal is a frame or sequence that can be explained before capture, assessed after capture and found again after delivery. The method below stays source-led where a standard or authority applies and labels photographic judgment as judgment.
Read the condition before the frame
Window exposure in interior photography begins as a reading problem. A window may be a light source, a view, a boundary or a bright shape; its treatment should follow the role it plays in the room. The first task is to separate the durable spatial condition from temporary clutter, preferred style and assumptions carried from another project.
- Decide whether the exterior view carries orientation or is incidental to the interior story.
- Notice reflections, sheer layers and deep reveals before treating the opening as one exposure problem.
- Map which room surfaces must retain color and texture around the window.
For window exposure interior photography, this reading stage protects the final sequence from a common error: solving an attractive picture before defining what the picture needs to communicate. The notes can remain simple, but they should name position, light, access and intended use in terms the commissioning and image teams both understand.
Turn observations into decisions
For Window exposure in interior photography, a useful brief converts what is visible into choices that can be reviewed. The aim is not to prescribe one camera setting or style. It is to decide which relationship matters, who owns the unresolved question and what information a view must retain.
- Allow highlight loss when the window is only a source and the room is the subject.
- Control contrast when the view explains place, outlook or connection to landscape.
- Use supplemental light or bracketed capture only within a workflow that preserves believable transitions.
Window exposure in interior photography becomes commercially and editorially useful inside Home & Interiors when those choices remain explicit. A team can then distinguish a required record from an interpretive variation, budget time around access rather than guesswork, and explain why a frame belongs in the final package.
Build a sequence, not an isolated hero
Window exposure in interior photography rarely carries context, form, circulation, use and detail in one frame. A sequence gives each image a narrower job and lets adjacent views answer one another. That makes selection easier and preserves meaning when photographs leave the original gallery.
- Make an ambient reference that shows the actual contrast relationship.
- Capture the controlled version without changing framing or room preparation.
- Compare the result with adjacent interior and exterior images for continuity.
The order for window exposure in interior photography should feel spatial rather than merely chronological. A reader first needs orientation, then a closer architectural relationship, then evidence of use or construction. The exact route changes with the building, but the logic remains open to review and can be recorded in filenames, captions and the delivery index.
Check what the image claims
Quality control for window exposure in interior photography is more than sharpness. The selected frame should be compared with the brief, neighboring images and the information visible at full resolution. Perspective, privacy, crop, caption and metadata can each change what the photograph appears to assert.
- Inspect halos and hard masks around frames, plants and furniture.
- Keep exterior brightness plausible for the stated time and weather.
- Check that a recovered view does not become more important than the interior design.
There is no obligation to show every exterior detail through every window; the image role determines what information is necessary. This boundary is part of the editorial result, not a disclaimer added after it. It tells the reader where photographic evidence stops and where a responsible person, current authority or project-specific decision must take over.
Evidence docket
Sources behind this guide
Window exposure in interior photography uses the publication evidence hierarchy rather than a hidden authority score. Its working source IDs are SRC-AIA-PROJECT-PHOTO. Definitions, jurisdiction and review dates remain in the source register, where corrections can be made once instead of being copied inconsistently across the site.
Continue the reading
Connected decisions
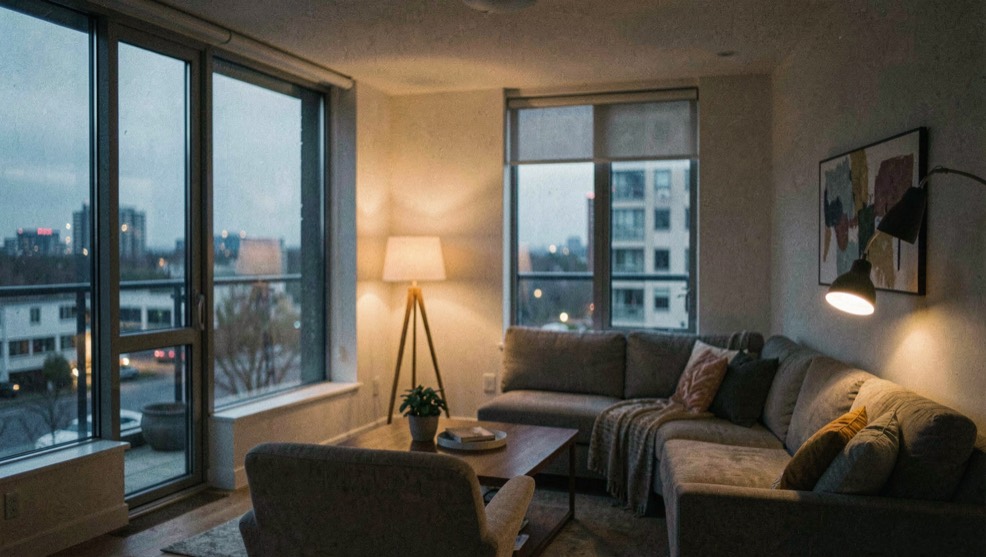
Home & Interiors
Mixed lighting in interior photography
From Window exposure in interior photography, continue with this decision: Diagnose color, intensity and window tradeoffs before capture and correction.
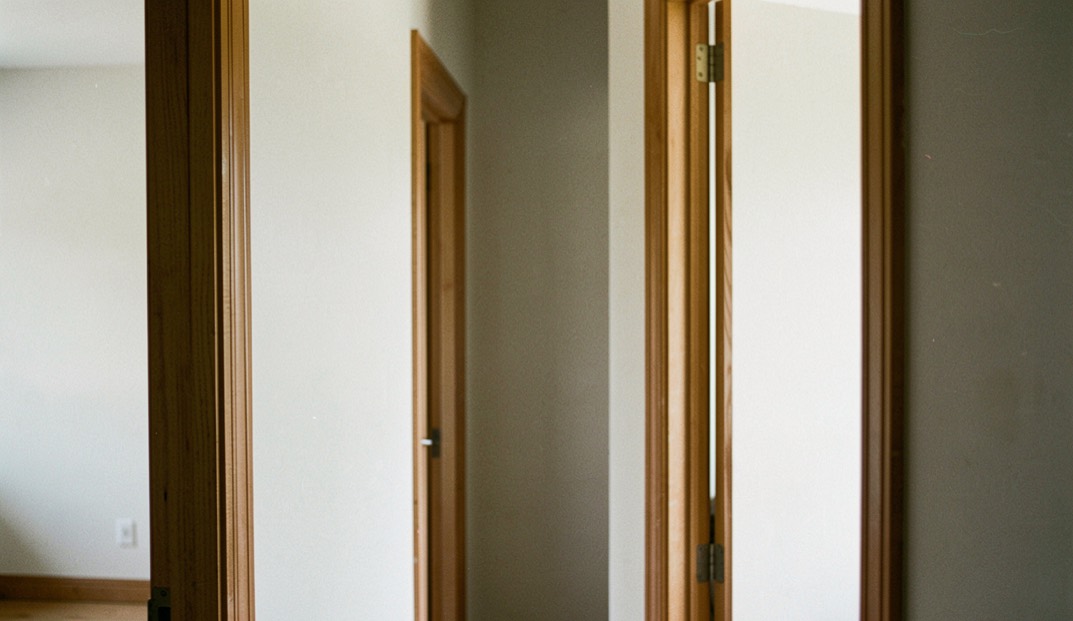
Photography & Technology
Straight verticals in interior photography
From Window exposure in interior photography, continue with this decision: Control geometry while preserving believable proportions and intentional camera position.
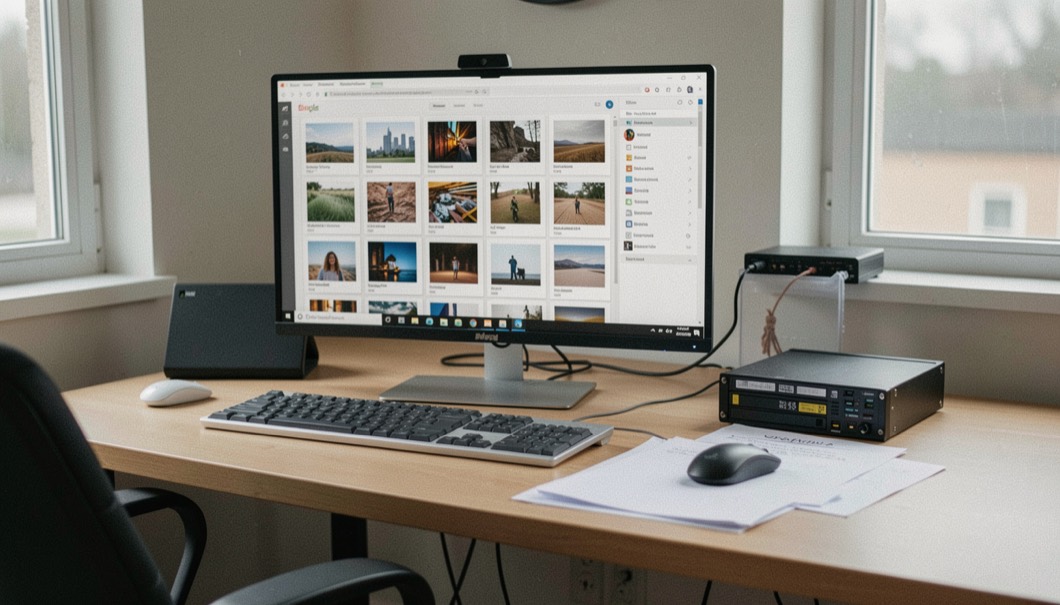
Photography & Technology
Architectural photo sequence: from context to detail
From Window exposure in interior photography, continue with this decision: Order a project story, then hand it off with consistent names, metadata and rights notes.